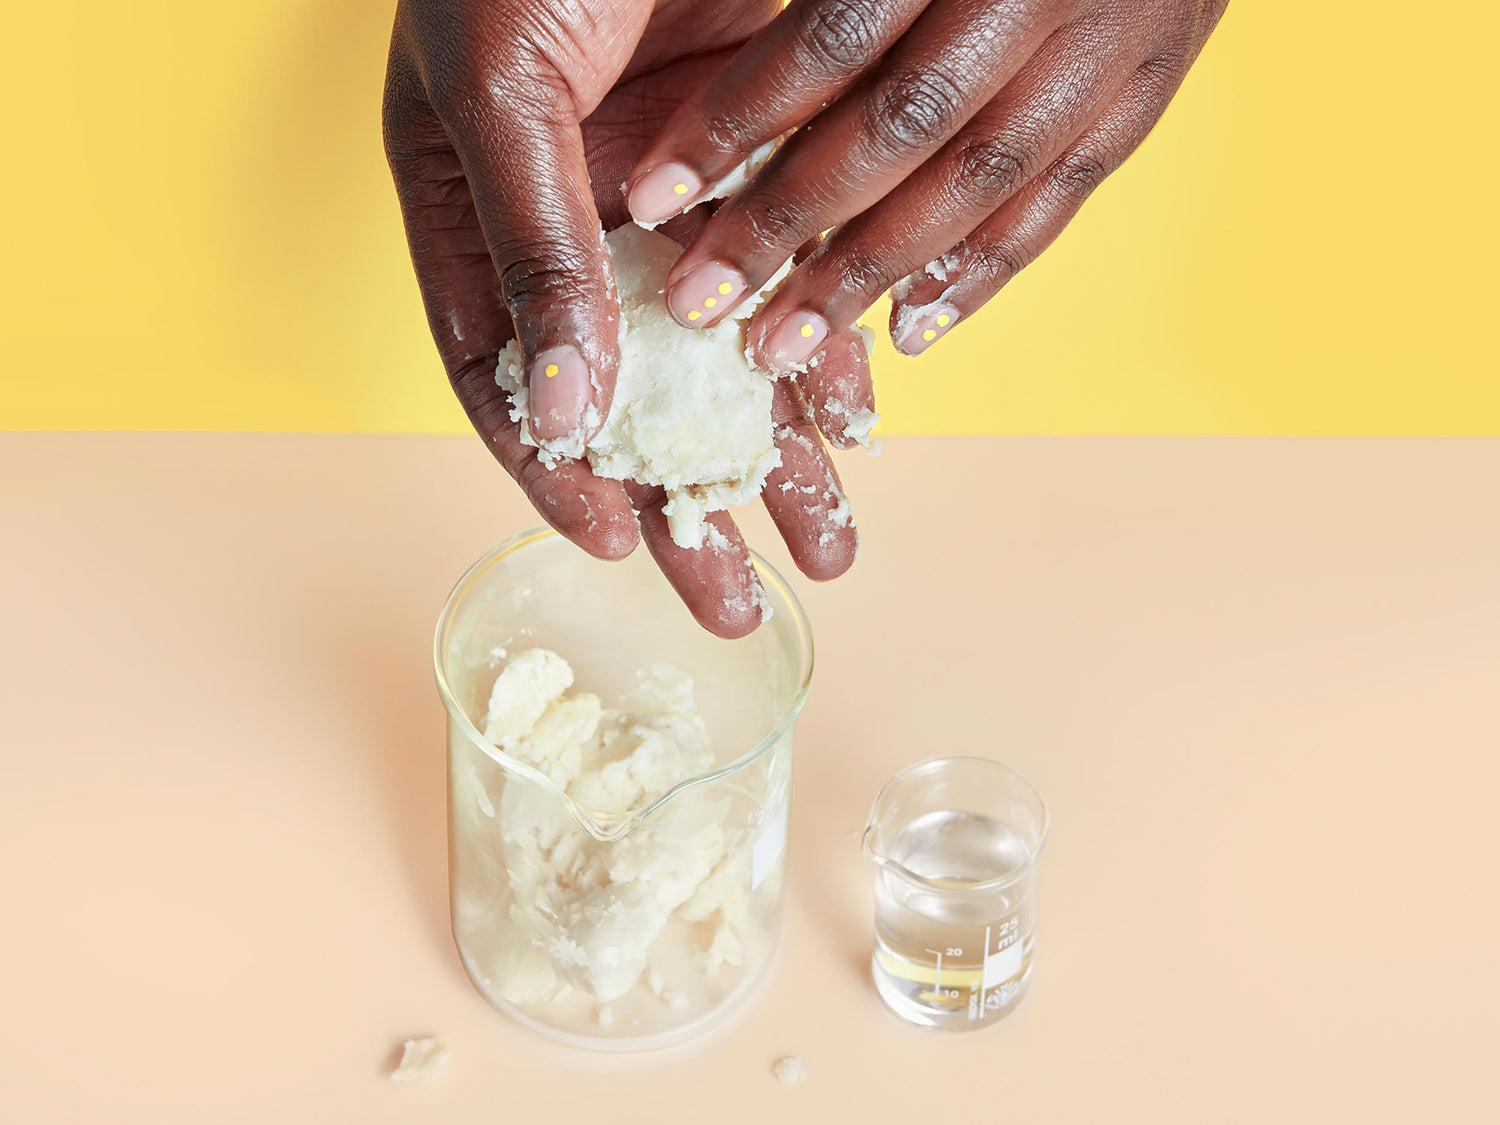
Unrefined shea butter is a must-have star ingredient in any kitchen. No matter how small your kitchen is, shea butter should always have a place. It's not "just" a power ingredient but also a fantastic, purely plant-based thickener. Furthermore, it's generally well-tolerated and affordable. It's no wonder it appears in so many DIY recipes.
Enjoy the high quality of our certified and unrefined organic shea butter Directly from northern Ghana. Two in one: A great product for your skin and an impact in the women's cooperatives in northern Ghana.
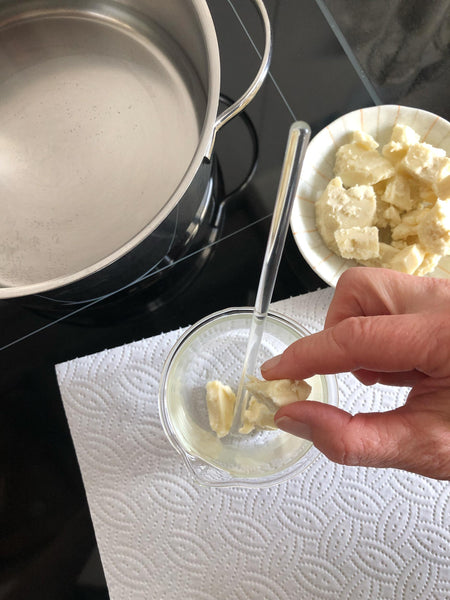
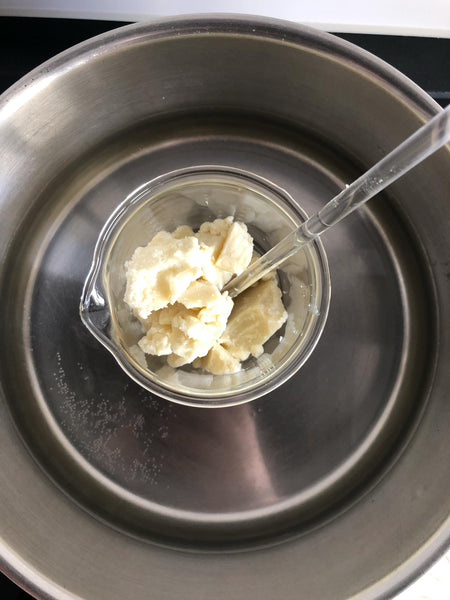
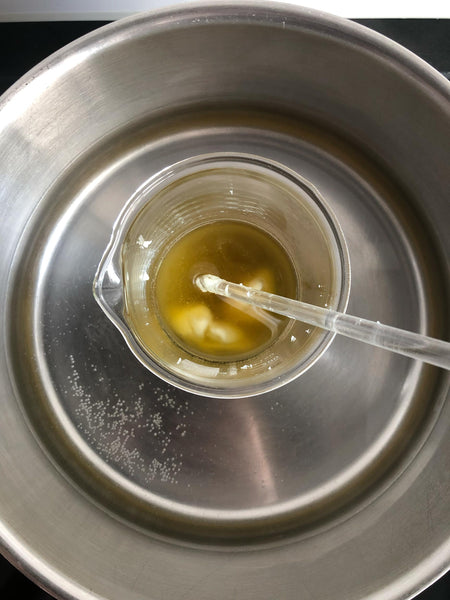
How to handle unrefined shea butter
- Always melt slowly and gently, otherwise the valuable ingredients will be lost.
- Never melt on direct fire, but in a water bath.
- Treat the shea butter with love, and you'll see the consistency improves. (No joke, it's true, she's a little diva :-))
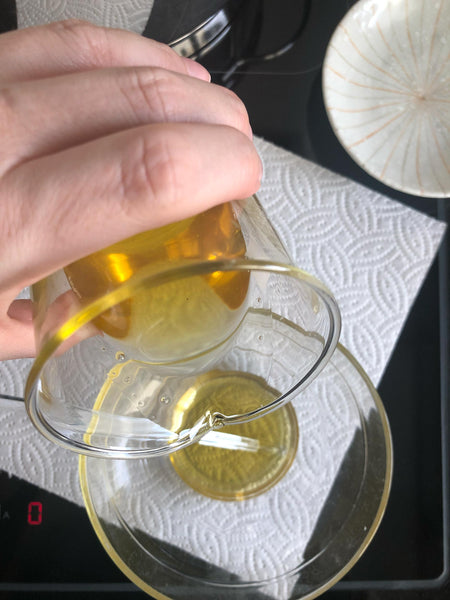
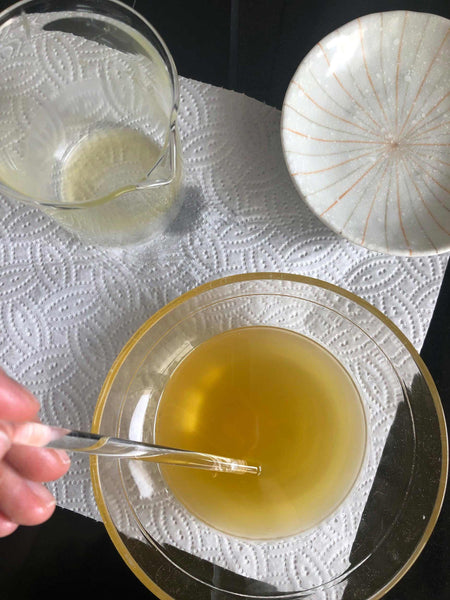
Why small crystals can form in shea butter
If you use the shea butter to hot heated or they not correct cold When stirring/chilling , small crystals (a kind of "semolina grain") may form. These melt immediately on the skin and do not have a negative impact on the quality of the shea butter. The only problem is that the mixture is not homogeneous. If you want to remove the crystals, you can melt the shea butter again according to the instructions above. Or you can whip it. to a whipped shea butter.
Cleaning up – knowing how
I recommend always wiping the containers with paper towels or old bed linens before putting them in the washing machine or sink. Otherwise, it'll be a huge mess because they'll be so greasy—I speak from experience when I first started out :-).
Well then, let's get started now, have fun with it!
Have fun buttering!
All love,
Sandra
Natural cosmetician & founder SHEA YEAH